Blogmas | December Playlist

Hello!

Can you believe Christmas is on Sunday?! I can’t honestly, and I’m sure there are a lot of people who are feeling the exact same way.

I usually post my monthly playlists at the end, but since I will be taking my mini hiatus directly after Christmas, it just makes sense to release it as part of my Blogmas content. I’ll actually give you the list now and share some of the stuff going on in the past few weeks below.

Here are my Top 20 favorite songs for December 2022! If you want to check out the full playlist, click here.

Skinny Little Missy by Nickelback
Diseased by Icon For Hire
Bye Bye by Gryffin featuring Ivy Adara
Met Him Last Night by Demi Lovato featuring Ariana Grande
Have Mercy by Chloe
It’s Been Awhile by VCTRYS
The Way I Are (Dance With Somebody) by Bebe Rexha featuring Lil Wayne
What A Man Gotta Do by Jonas Brothers
Running For Your Life by UNSECRET featuring Butterfly Boucher
Ghost Town by Layto featuring Neoni
DICE by NMIXX
Revolution by Bishop Briggs
Reinvented by Ad Infinitum
Fly Away by Lenny Kravitz
Dangerous by Aviva
The Assault by ADIEAUX x Justin Starling
Wild by Effsio Cross
Bones by wens
May It Be by Anuna featuring Sara Weeda
O Holy Night by Lindsey Stirling
Medley by Michael W. Smith
Nordlys by Myrkur
Silent Souls by Moya Brennan featuring Cormac De Barra
Carols of the Bells by Jennifer Thomas
Turn Off All The Christmas Songs by Sam Tinnesz


As I mentioned in last Friday’s post, I was really sick throughout the early part of the month, but I will say, I have had a lot of fun hanging out with my family lately. Our dog Rumer has really enjoyed playing again. She didn’t like it not being able to come around me in those few weeks. However, when I did come out, we’d play ball so much that she would literally jump up on the couch and fall asleep. One day she’ll do this when mom and I are watching Jeopardy in the living room. She tends to be active while we’re watching it, and you’d think her craziness would slow me down at all, but I have found I do better when I’m multitasking and playing with her.

Rumer does not know a lot of commands, we had plans to teach her a lot of different things when she was a puppy, but that takes a lot of time that none of us had a lot of patience for it, and now she’s full of energy and whines quite a bit. She does not do well away from my parents, mostly my dad, and she’s fiercely protective over us on top of that. Anyways, I’ve been trying to teach her some simple things, one is sitting (or lie down) before I roll her green ball to her. I don’t know what made me do this, but I point my big toe at her while leaving my right foot shielding the ball at the same time. She is starting to realize when I point downward, it means she needs to sit. She’s been doing great for this but recently, she’s been learning to go all the way down now. It was just bowing, and they’ve turned into fully calm, cooled and on the ground and everytime she succeeds in this task, I reward her with the ball.

For those of you who are asking about our Christmas tree though, she does pretty good with it considering she doesn’t usually care for the plants in the house. My dad was way too excited to bring our big plant we call “Sally” into the master bedroom for the month, because she can’t really mess with her and Sally has really blossomed in there as well.

If anybody has advice on how to help her anxiety being away from us and/or with the cats, we’ll gladly take it now!

Let’s talk about actual Christmas things now.

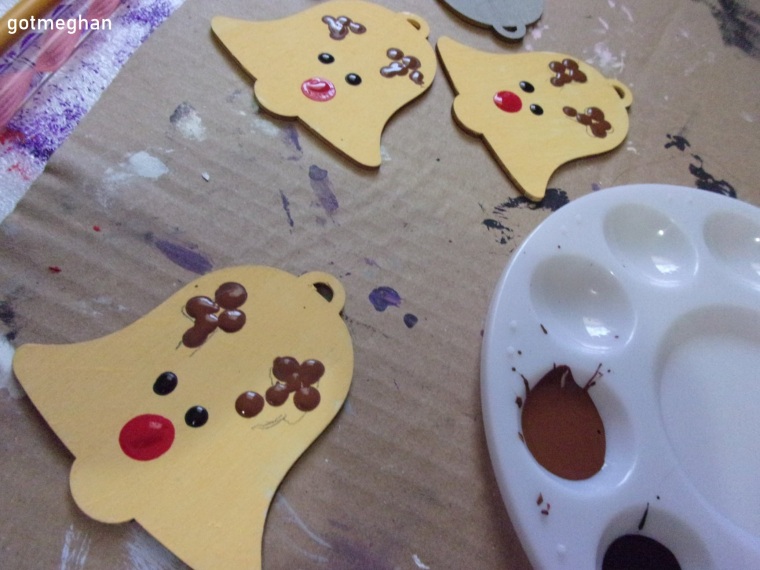
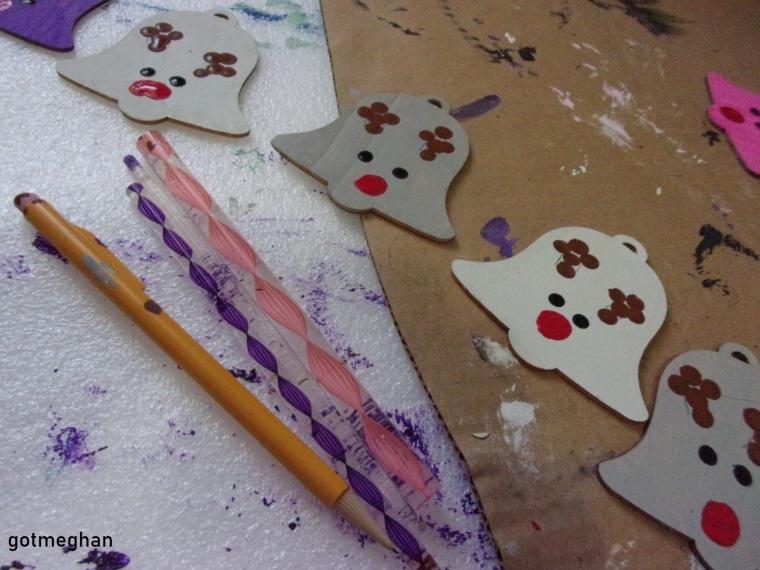
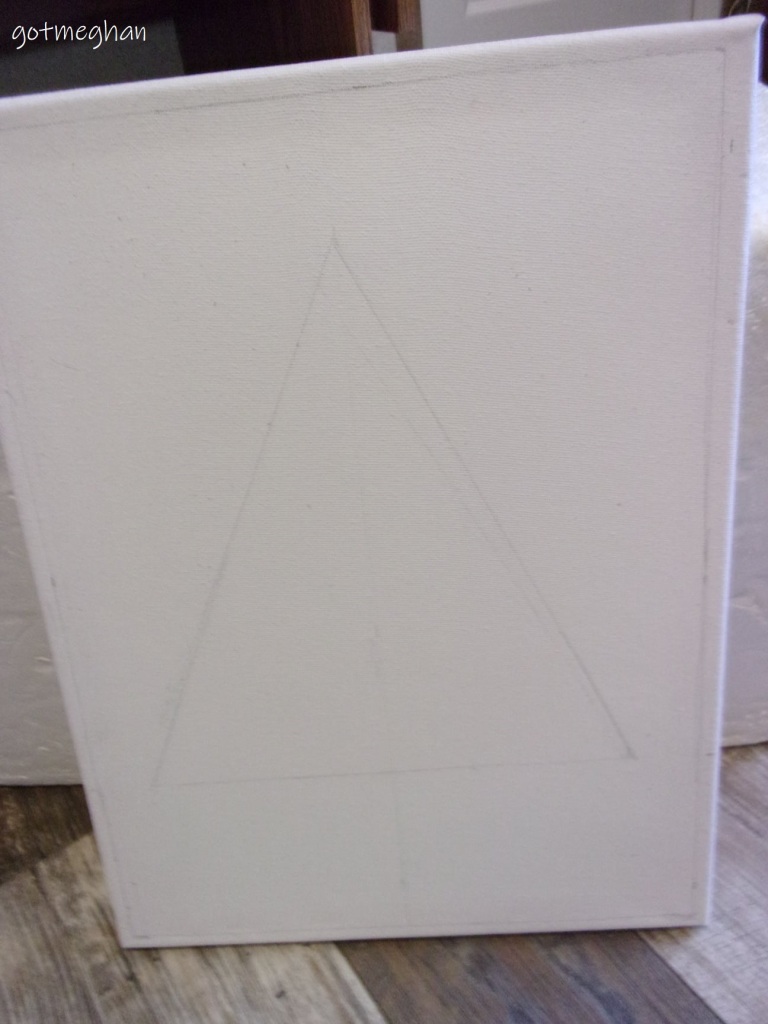
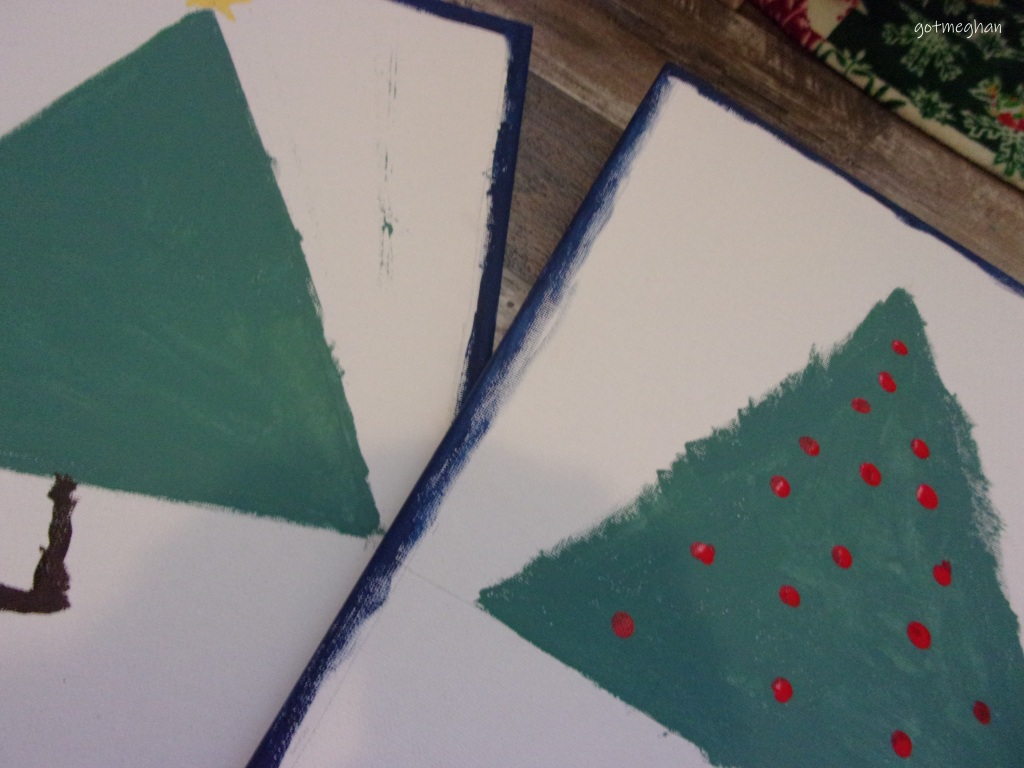
I wasn’t going to put up my tree this year. We recently switched my bed, have a new bedside light and other furniture around in the room and it’s been sort of a struggle figuring out where everything can go now, so I just figured I wasn’t going to have any space for it. And then we got the advent calendar which consists of mini ornaments, and it would make better sense to use my tree compared to the family tree and being around Rumer who eats anything and everything she’s not supposed to, so we managed to arrange it next to the TV and I have two very beloved musical Santa Clauses and we put them at the sides of my tree, and it really looks so good together.

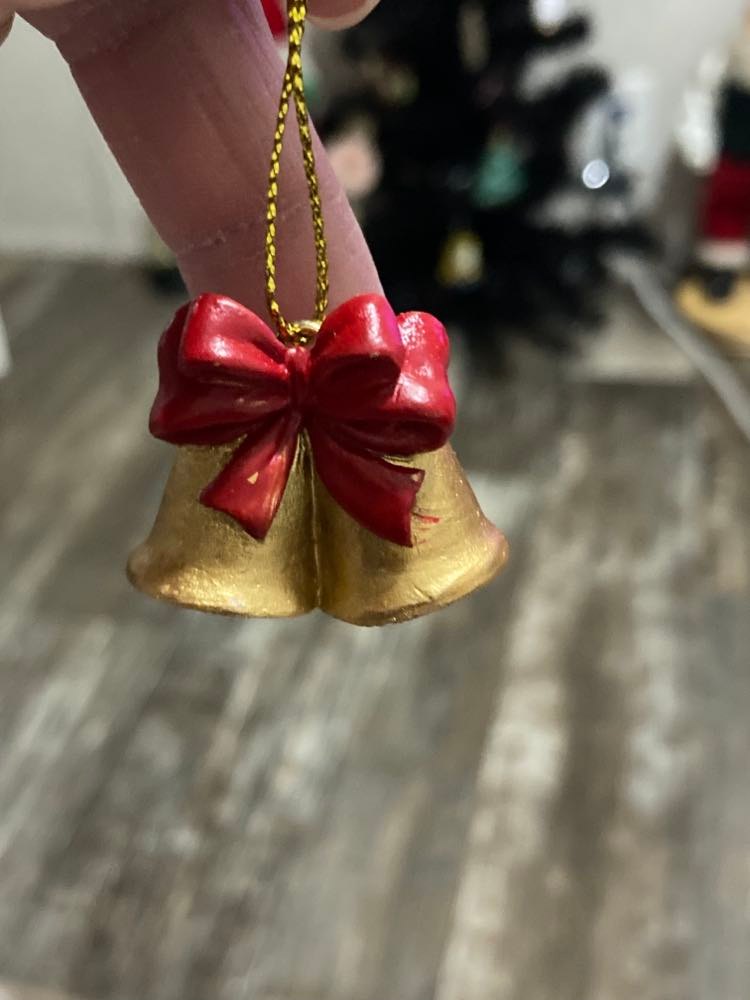
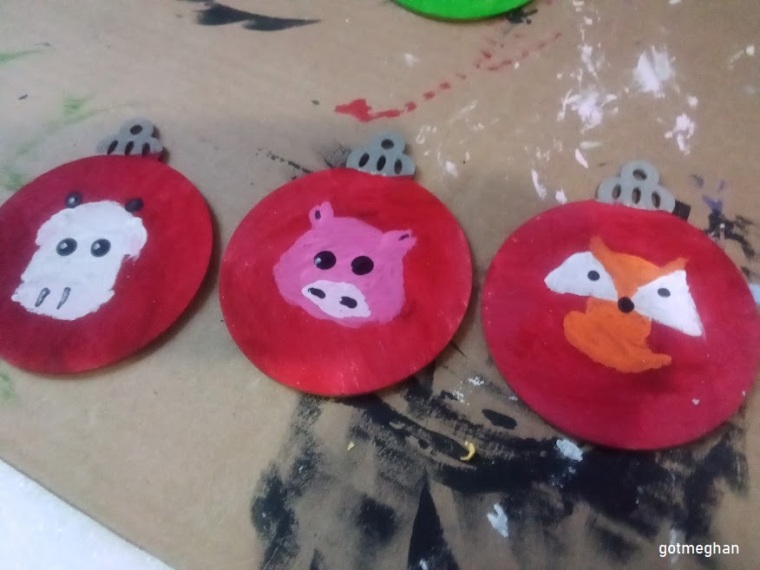
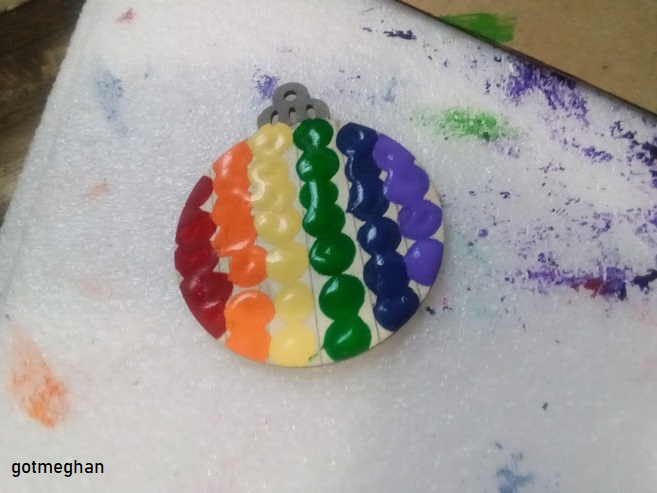
These were the day one and two of our advent calendar ornaments. My nephew absolutely loves to do it as I mentioned in my post last Wednesday. I feel bad it’ll end on Christmas Eve though because it is literally the first thing he goes for when he comes over. Maybe I can find an activity for us to do at the start of 2023. If anybody has any ideas about this too, let me know in the comments.

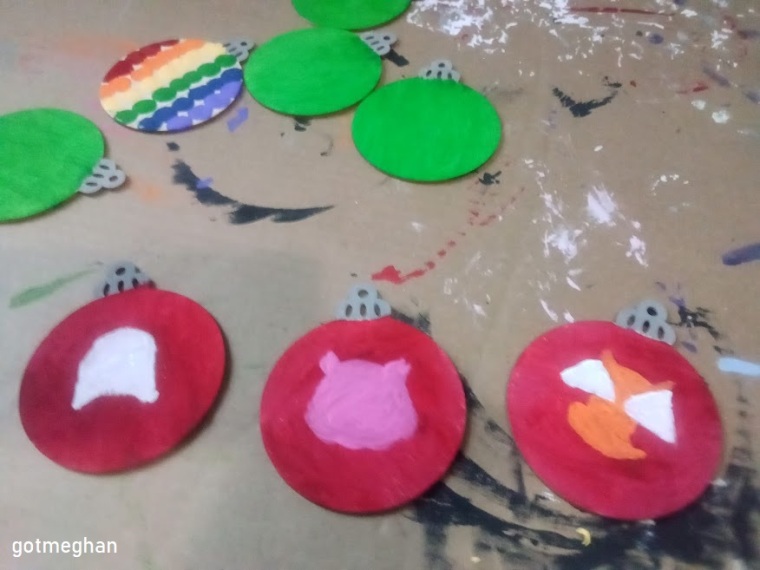
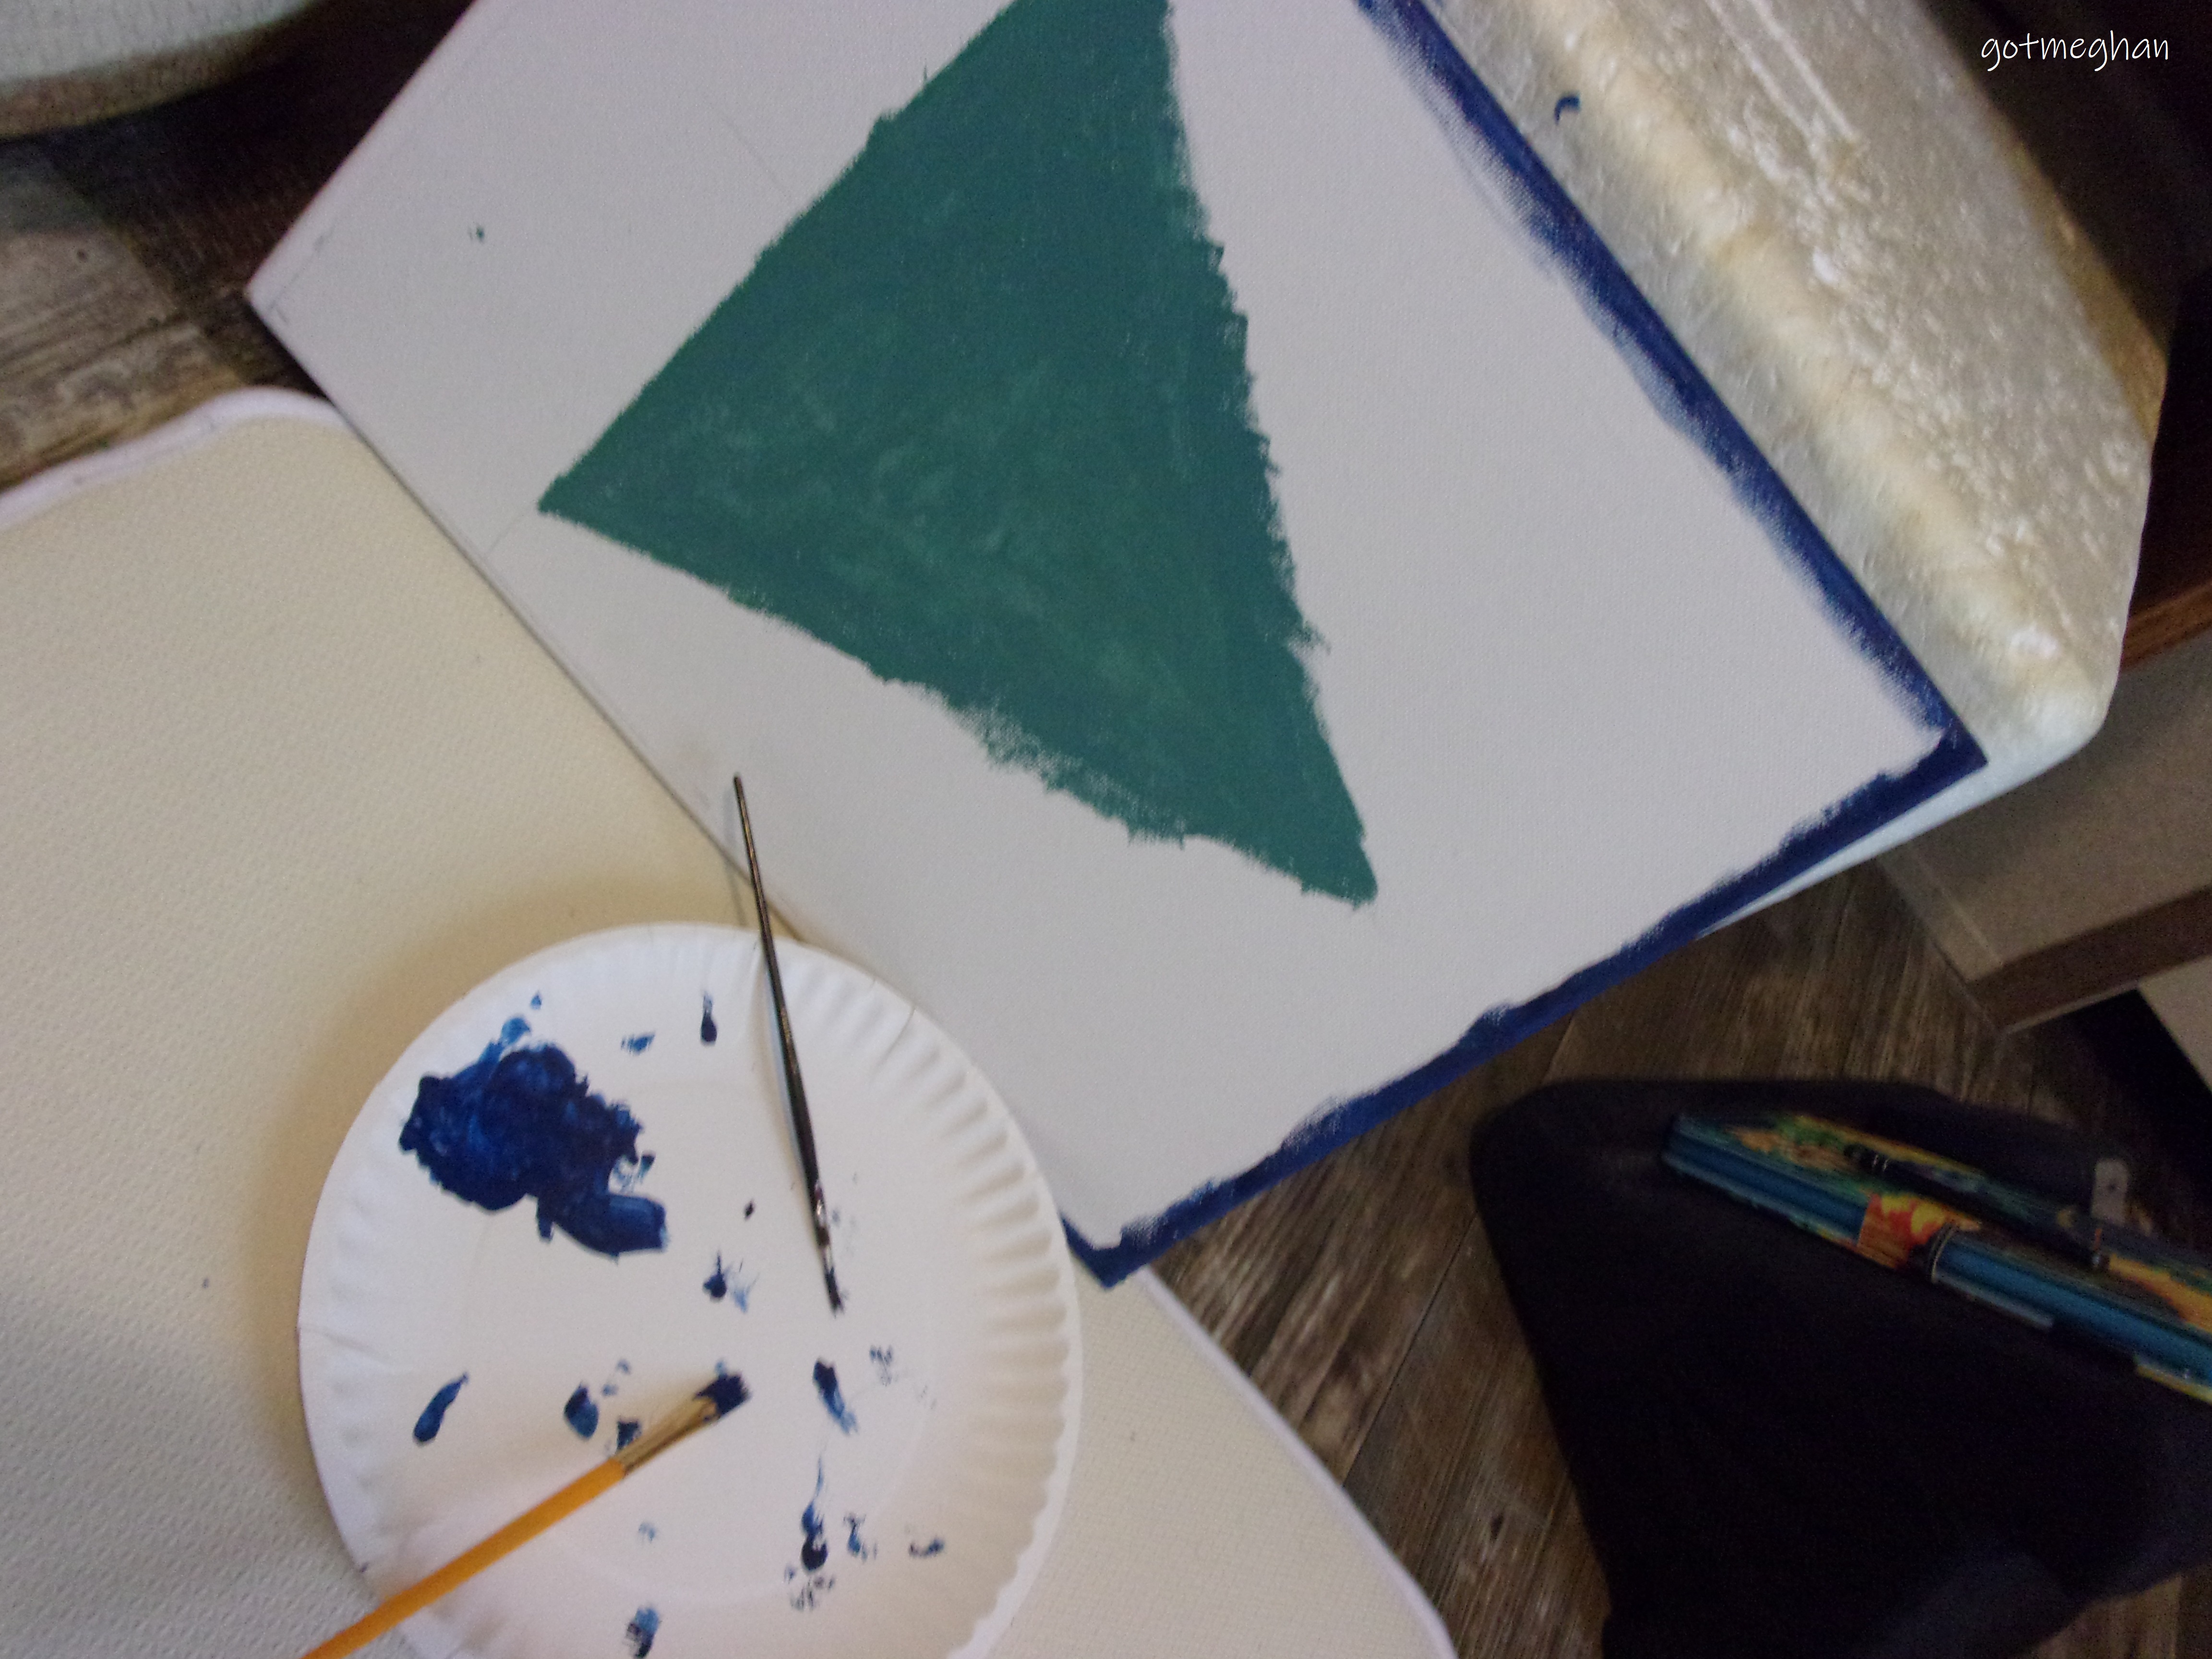
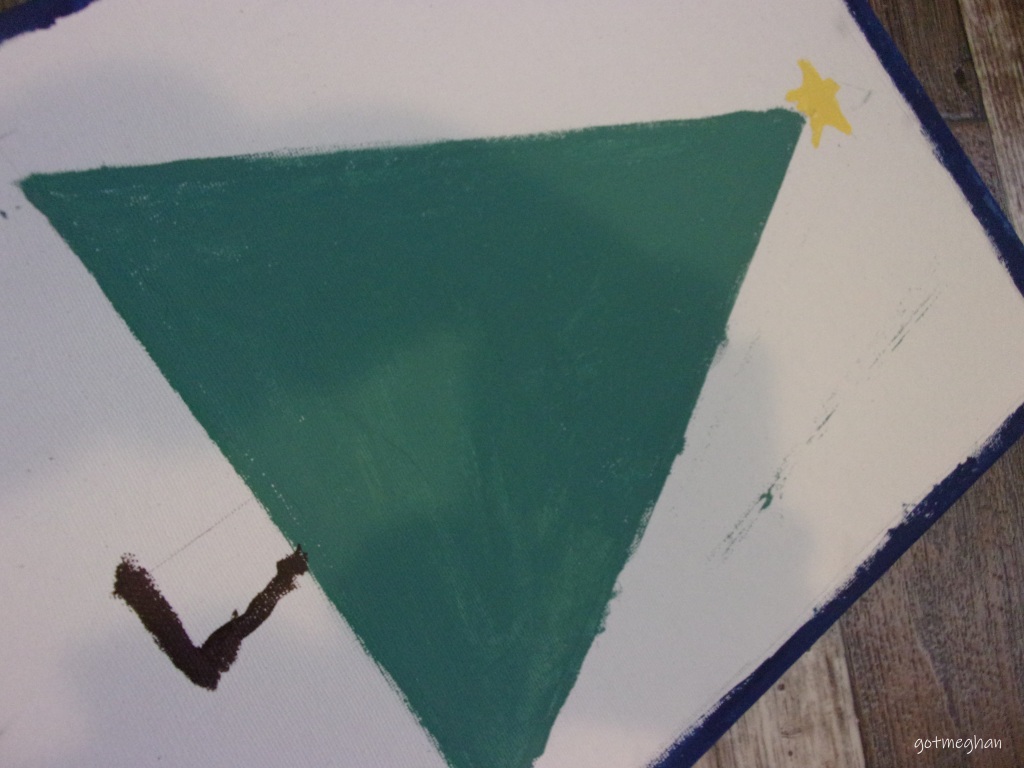
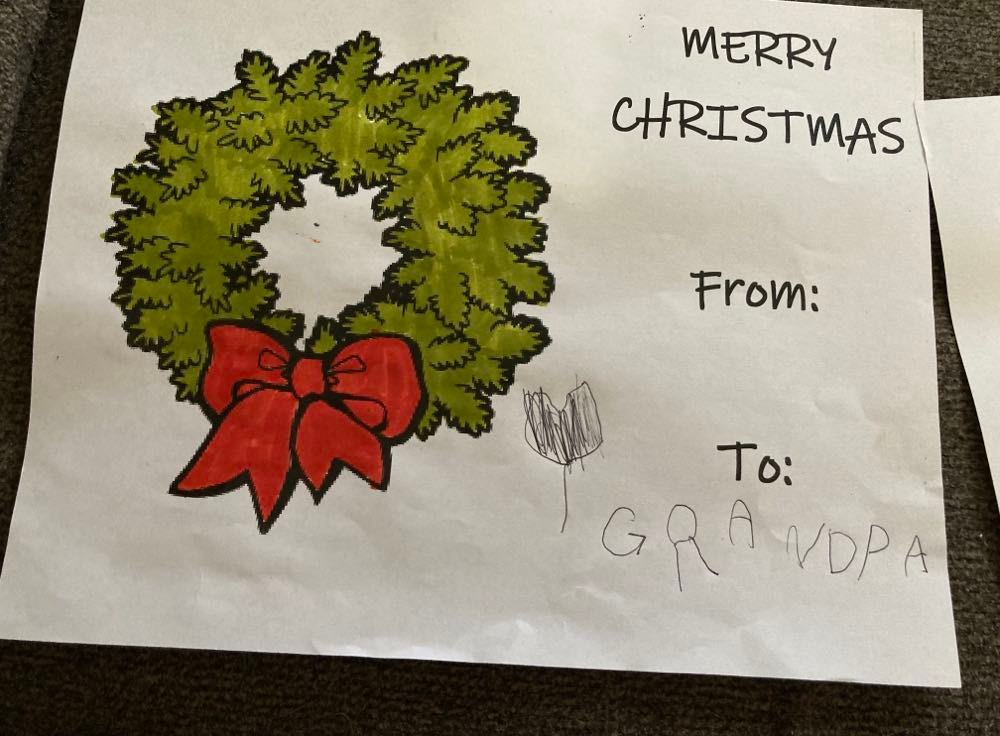
One of Nolan’s favorite things to do lately is coloring, he really cherishes coloring with me and using my markers even though he has his own. We did a series of holiday characters, and he claimed all of them but one, the Dasher reindeer as it was for Mimi or my mom; unfortunately for Pawpaw Nolan decided his reindeer is for someone else, which really made him sad about it. At the same time we did this, Nolan introduced me to a movie on Disney+ and it’s called Prep and Landing, it is about the elves helping Santa navigate throughout Christmas night and it is so cute and hilarious! I’ve actually watched the other two and I figured out why the voice of Wayne sounded so familiar is because it’s the same actor who did Flik in A Bug’s Life: Dave Foley! Anyways, if you haven’t seen any of the movies yet, you should as they are perfect for toddlers and kids at heart obviously!

Here are the end results of our pages.

We have already finalized our plans for Christmas morning, and I get to play Santa this year! I’m not going to lie; this is good karma for me in a way. Nolan will be spending the night, so we have cookies and carrots for Rudolph and the gang, as per to Nolan’s instructions. We don’t want to offend any of the other reindeer of course! I am hoping when Nolan is officially asleep, we can put a couple of presents underneath my tree as he’s been such a good boy making my tree all pretty that I feel he needs to see some holiday magic for all of his good work this past month.

Okay, I think that is it for me today. I hope you have enjoyed all of the Christmas-y stuff going on and maybe found some good tunes to round out the rest of 2022.

snowflake

Blogmas | Our Advent Calendars

Hello!

Even though I am an American, I thoroughly enjoy advent calendars! I like the fact that every day you get a little something to do or eat, depending on your preferred calendar!

What is an Advent Calendar?

An advent calendar is a special way to countdown to Christmas. It is originally celebrated and made with candles and wreaths in Germany, but as with everything in the modern world, it exploded into the mainstream, and we’ve added candy to the mix.

I think I was introduced to them around 2014. It would have been the first time I’d watch Zoe Sugg’s vlogmas on YouTube. Honestly, by that time I had been introduced to the bulk of the blogging community, so they could have helped me along the way as well. Anyways, I thought it was an interesting way to get ready for the holiday festivities.

Afterwards, my nana received a simple advent calendar from one of the charities she supports, and they sent a naked tree, and your job was to decorate the scene from the first of December to Christmas day. She would put it up on the refrigerator and anytime I came over to visit, it would be the first thing I’d do, but on the days when I didn’t, my nana would say papaw did it for me and that sounds like something he’d do. I think the longer we did it, he started to enjoy it just as much too!

The day I wrote this post, this picture popped up on my Facebook Memories and I’ve never been happier!

Fast forward to 2021, I wanted to get my own advent calendar. It had been some time since I did one and I thought it was time to bring it back. I had also hoped I could persuade my parents to do it with me, and within four days they became as excited as I was on what would be inside the little envelopes. I managed to find a very affordable Harry Potter calendar that opens up like a giant book and considering neither one of my parents know anything about Harry Potter, I think they enjoyed learning more about it through the various memorabilia. and they definitely understand my love for everything Harry Potter now.

Our 2022 Advent Calendar!

I can’t deny to you, I’ve been searching for this year’s advent calendar since May, and I feel absolutely no shame for it either.

Originally, I wanted to get either a calendar dedicated to puzzles or socks. I watched Alexandra Roselyn on YouTube last year and she had two different calendars, one for tea and the other was for jigsaw puzzles. I was kind of curious about whether I’d have enough patience to do a puzzle with my parents, and honestly, I doubt they’d last long with it. Now, about the socks, my mom has a lot of various socks and I point them out to her all of the time because they rarely go with her outfits or seasons, so I figured this would be a winner for us but the prices for these kinds of calendars can be expensive. When I looked through Amazon back in August, the prices stayed around $40 and as much as I knew we’d have fun and get use out of them, I just didn’t believe at the time it was worth it.

I actually told my mom about the sock advent calendar, and she was very stunned, and told me next year we need to get one together… I told you, she likes her socks!

Anyways, my mom ended up finding this year’s advent calendars. The first is a red box with little holiday scene and you have to look for whatever day(s) you are on and your job is to break the cardboard door to find a little treasure. A mini ornament. When my mom took these pictures below, we had missed the first two days, so we have a set of golden bells with a red bow in the middle of them, and a little snowman decorated with mittens, a scarf and Santa hat on top. We really love this calendar the most, it is absolutely adorable and since my Christmas tree is on a medium size, it is better to decorate it with mini ornaments so these prizes will be very well-loved with me once we are finished with it.

In each photo of the calendars, I’ve included the link, so if you’d like to purchase or put them in a folder for next year’s Christmas season you can.

For the second calendar, my mom thought this would be an interesting because we both enjoy watching crime dramas–she’s currently on a Scandal kick whereas I am watching FBI. The crimes you get to try and solve are based on Sir Arthur Cohen Doyle’s Sherlock Holmes, it is all with a British theme, which isn’t quite ideal, I’ve had to help mom as she didn’t understand some of the names and phrases. The “crimes” themselves are mostly rated PG. This calendar is set up like one of those calendars you flip over to the next and it just sits on your desk. As you’ve might’ve guessed, this isn’t our favorite, but it’s still technically early so we’ll really see if we change our tune after Christmas.

Maybe next year I can do a little list of advent calendars that seem like they could be fun to do with your family. It would also be nice to give you something around a reasonable budget too! If this is something you would like to see in next year’s Blogmas content, please let me know down in the comments.

Are you and your family doing an advent calendar this year? If so, what is the theme behind it? If you’ve done an advent calendar since you were young, what do you look for when you go to purchase them?

snowflake

Blogmas: Wooden + Dots Ornaments

Hello!

As you may have noticed, and I still don’t know what happened because I had plans, but we didn’t put out any pumpkins this fall. My sister did, she decorated her entire front porch with various sizes of pumpkins, but we did not. I found it very surreal, because that’s my favorite thing to do in September and October is paint pumpkins. After that, I think my body was like, “okay, we need to find an alternative fast!” because this project came out of nowhere, but it ended up becoming a new favorite of mine.

In mid-October, I started looking for birthday gifts that weren’t books (I know it’s shocking!) and I found these wooden shapes and I sort of fell in love with them and then I found ones that were Christmas related and then all hell broke loose in my brain!

In the last year and a half, I’ve been watching a lot of reels and regular videos on YouTube of dot art. I still don’t remember what inspired the find in general, but I’m forever glad it came into my life. I used it in my 3 projects last Christmas. It was only a simple red dot here and there with a Q-Tip but it was still a new thing for me and I loved it. I have been working on it throughout 2021 and I finally felt comfortable enough to use the technique in my new project: the Christmas ornaments!


What you will need for this DIY:

  • Wood cut outs – it’s important for them to be “unfinished”
  • Acrylic paints
  • Paintbrushes
  • Dotting tools
  • Damp washcloth
  • Paint palette or paper plate(s)

Before we get too into this part of the post, I wanted to show you how the ornaments came in the mail.

They were perfectly stuffed into this cute Santa Claus box. I was originally going to get the 160 pieces but I’m glad I switched to the 40 pieces because I would still be painting right now! Anyways, they were four traditional Christmas characters: a snowflake, bell, tree and baubles. You get 10 in each stack, so you have multiple designs you’d like to trade off, you are welcome to do it evenly. If you would like to purchase this set or the others, click here for the Amazon page. You also get clusters of string for each of the ornaments, plus a small bag of metallic beads, but I did not use them.

Raining Dots

I started with the Christmas trees, and I copied the same color scheme I did with my last project, so I mixed my green with a tiny bit of blue and I love how they all came out. After finishing all 10 trees with their base coats, I moved on to the trunk and I poured a small amount of brown into my palette, and I used one layer of paint for that part. I am a lover of DecoArt acrylic paints, (thanks to Lydia May on YouTube!) I usually don’t need more than two coats depending on the shade, and I was very happy with my color choices this time around, including the yellow!

Once everyone was in the process of drying, I switched my attention on my design ideas for a few of my baubles. I knew I wanted to create a series of animals, but I’m not really good at it so I went looking on Pinterest and found a great step-by-step guide of the Fox for my friend Brittany. She was the one who really inspired this part in the first place. I continued to search for guides of the Cow and Pig, but I wasn’t able to find anything, so they were basically all free-foot sketches. After that, I stopped for the day, and came right back to it the next day.

A couple of weeks ago, I was finally able to add another selection of dotting tools. I have the smaller sizes, and I’ve been using them for about a year now and they are very nice for me to grip my toes around and make my dots, but the others are various sizes and I have been wanting to get them for a while now because I wanted to try my foot at the larger dots. I am having issues how to grip them, but I expected that to happen. I knew I wasn’t going to go all out with my designs (honestly, I had the phrase, “less is more” in my mind the whole time!) and I tried to keep it that way.

When I came back to my trees, I was ready to decorate everybody, and I used two colors: yellow and a light gray (I mixed my gray with a tiny bit of white!) and I painted the stars with those colors and would switch the yellow star with silver garland. I was smart with this; I drew out a zig-zag design on most of them and would follow the lines with my dotting tool and I really loved it! Some look like traditional Christmas trees, but there are five of them with the “walking technique” which is coating your desired tool with paint and dotting down the canvas, I love this so much I did it to my Bonsai pot in the spring! My parents saw the final tree with this design, and they love it. Honestly, everyone I’ve shared it to, has expressed the same thoughts too!

So, here are how the trees turned out.

There Goes Rudolph!

The second (or third) shape were the bells. I wasn’t impressed with the bells at all, they were very boring even without paint on them…

My thinking behind them was the golden bells you normally see on pictures, but I could not get the yellow to turn to a pretty gold and I tried like three different times and was only successful after finishing with them. I was so mad at that point, but I moved on though. Since I had 10 of these bells, I was influenced by a fragment of a carol “with silver bells ringing” I kept hearing while doing the base colors and I created the silver hue again for the rest of my bells and I thought they looked so adorable!

I left to dry overnight and I was really worried about how boring they looked, so that night I thought about adding a reindeer face on it and in my dreams they looked so cute and I was over the moon when I started sketching out how I wanted the antlers to go, but once I started doing my dots I got a little worried because the design started to look a little bit like a pair of balls and by my second bell, I became terrified at what was appearing but thankfully my mom thought they were great, especially after I put the eyes and big red nose at the end.

The reindeer/bells are definitely my favorite, even with the cock and balls antlers, they still look amazing! I did a good job on them and that’s something I rarely do when it comes to painting, is enjoy what I am creating, and lately it’s been so fulfilling to believe in my artwork for the first time.

Let It…

For the third ornament, we have snowflakes.

I think both the trees and snowflakes were the easiest to do because they required a small set of skill. You can free hand your designs to make things simple and they would still end up being very beautiful. When I began on the snowflakes though, I thought I would be able to play with my various sizes of tools, but I rarely got away from the blue tool, which is a little bit bigger than the purple tool. I basically treated the flakes like the trees when it came to their designs and used the walking technique quite a bit throughout the process.

And like the trees, I kept my color scheme pretty limited, I only used white for the base and used two different blues, but my favorite shade was the bright, neon like because it reminded me of the Frozen films. I’ll be honest, I had Queen Elsa and Princess Anna (and of course, Olaf too!) in my head all while I was working on these and I’m glad I did because it got me out of my head, and I allowed myself to make mistakes with them because I mean every snowflake is one of a kind so I just left them the way they were… well, some of them! There were 3 that definitely had to be fixed but after I was done, I basically pushed them as far away as possible, so I wasn’t able to add more dots!

The Cast of Characters

Lastly, the bauble balls were my least favorite because I knew what I wanted to do with a few of them and it scared the living daylights out of me! I got through in one piece thank God, but not without psyching myself out in the first round.

So, like I explained above while I was waiting for my trees to dry, I got started on figuring out what I wanted for three of my baubles, the rest was pretty much left until I did the base coats. I treated the baubles like the bells, as I split them up as they were painted in traditional Christmas colors: green and red. I was so worried the red would be too dark for my animal baubles, but thankfully they design held up great against the paint, and I was still able see every part.

My biggest worry now was, do I have a brush that was small enough to paint the character without creating a big mess around it, and I was thoroughly surprised as I found a tiny brush that was not only perfect for the designs, but it quickly became a favorite of mine because it allowed me to gain back some of the control as far as what I wanted to bring into each animal. I didn’t stop using my dotting tools though as I had made the eyes and noses with a small tool, and they turned out as adorable as my Rudolph/reindeers in the end.

When I was done with them, I was fairly tempted to leave the rest of the baubles plain, but I thought they looked too boring for that, and I started experimenting and I made array of different ones but I did one that spells the word “Woof” for a family friend, they have a Pittie and they recently got a Beagle puppy so as my mom told me, “it fits” for them, and then I surprised myself again but creating two baubles in a Ugly Christmas Sweater design and I’m still upset I did just do that with the rest but it was just a beautiful disaster that I need to remember for next Christmas!

Bring Me the Rainbow

My final bauble is very special because it is my nephew’s. Nolan has become obsessed with the moon and rainbows, and since I already got him a Moon phase garland for his room, I figured I needed to bring out his love for the rainbow too, so I reserved a bauble ornament for him. I don’t know why I didn’t do this with my nana’s ornament since she too is obsessed with the rainbow! Oh well, I will make a note of this for next year!

I was thrilled to do this for Nolan but I was also terrified too because I had to use the ruler to create a series of lines for each color, and honestly, this was a doozy! I was having a hard time making six, somewhat equal, lines for each dot and it was a hard task at first but once I got it all figured out, I poured out my paint on my palette and got to work on the actual dots.

This media has also become a favorite of my nephew too. He currently had two or three CDs I’ve made in the last year or so, the first one he just took home and the others I gave him because he kept holding onto them. I think in the new year, I will try to teach him how to do it so he can be excited about his own creations too! Anyways, I used my pink tool, which is the middle size and honestly, it was actually perfect for this design. I was going to use the tiny brush again to remove the empty spaces in between the dots but I stopped myself from doing it and messing the entire ornament up. Nolan was very excited to get his ornament. I don’t think he understood at first why I had given him a different design compared to his mommy’s pink reindeer, but I know he will cherish it nonetheless!

It is strange when a small thought that can appear in the middle of a sleepless night, can grow into such a huge project and yet bring so much good to a slice of the world. Homemade gifts are good for the soul. I give kudos to anyone who has a small business and fix up orders every day, because that is no small feat! As I told my nana the other day, now that I am done painting and the cards were shipped out and people are receiving their ornaments, I still feel like I need to be doing something, and I really hope it was finishing this post.

I really hope you have enjoyed reading my process with this project. It was fun while it lasted, and now I can relax for the rest of this break. If you celebrate Christmas, I hope you have a lovely time with your family, friends and/or pets. For anyone else, have a wonderful weekend!

Blogmas | 2020 Christmas Tree

Hello!

I decided to write this post on the day, we finally get my little tree out from the depths of my closet. It’s been in there for around six months or so, we never packed up back in January because I originally wanted to get a tote like we have for our family tree to neatly store everything, but as time went on, my hope for that to happen disappeared so I finally had my mom store it up on the rack above my clothes so it wouldn’t get too damaged.

As my mom and I were removing the silver ornaments, we quickly realized that it might’ve been a bad idea to just stuff them onto the edge of the limbs, because the tops will break off pretty easily! However, we had extra hooks for our other ornaments, and my mom left me to put them through the holes myself, which still surprises me, but this gave me more time to listen to traditional Christmas music, which I knew she wouldn’t like to hear while doing the tree together. I also stabbed myself only a handful of times so that was cool!

If you remember, my tree is black – it’s definitely not the traditional tree like our big one in the living room, but that was the point. I saw the black trees the year before and I was like, “I need one!” because I thought I could find some Halloween-y type of ornaments to put on there and lucky for me, they were selling them really cheap at Menards so I really didn’t have to beg to my mom, because she thought they were kind of neat too! It’s like the story of Goldilocks and the Three Bears, it’s not too high or too small for me to reach around the sides or the very top to arrange something later on. I think it’s the perfect tree for me at this stage of my life.

While we were opening up the totes for the family tree, we found something slightly weird and it was a blanket, that we all thought was at my sister’s place. It is a white fuzzy throw with dressed up penguins! Last Christmas, our old sheet that was with us for decades, finally gave away and we finally had to throw it out; and that is why we started using a blanket as “snow” underneath the tree. Once we finished decorating it, my mom wrapped the blanket around the cracking stand and from there, I thought I wanted to do something similar under my tree. We have a few Christmassy blankets in our house and I have one that my nana gave me, and I think it looks fancy so I thought if we fold the blanket in half to fit that section where I decorated for fall. We moved all of the autumnal stuff out of the way and even removed the sunflower rug so that the tree was only sitting on top of the blanket and it was seriously the best decision, because it made that whole space look bigger.

Besides keeping the black beauty, there was another thing I thought belonged on this tree from the very beginning, and it was the gold glitter king’s crown. My mom managed to find at our local Dollar Store last year. It was a lot bigger than what I imagined it to be, but I loved it so much that I knew there was no way in hell I was going to get rid of it. What we ended doing with it since it clearly doesn’t fit on the branches, we use it like your angel or star at the top of your tree, and I just thought it made sense to put it there every year! My nephew’s face when he asked why it was like that, was priceless! Thankfully, he and his parents put up their tree that same afternoon and we didn’t know about the other, so I thought it was a little cool. Oh, and he told me that their pets, one dog named Chipper and four cats: Samuel, Toni, Otis and Tavis helped too!

Out of the 16 bulbs that came in the pack, I choose to use the glittery and matte bulbs but there was one glitter ball that was definitely effected by what I explained above but the cute thing about it was my nephew went into my room and snatched it off my table and my dad was suppose to fix it that evening, and so when Nolan came back into the living room with it, papaw told him to put it on the big tree since he was redecorating it all of a sudden. It’s still there on the tree I think! Anyways, I did have to use a couple of the shine-y bulbs too, but thankfully the overall design doesn’t look too chaotic and I’m happy with that!

I had decided on before I started hooking away on my silver balls, I wanted to keep things very minimalist, and I have to say, I am not about that lifestyle because mainly I’m too sentimental to do that. I barely got through packing all of my stuff to move into this house a couple of years ago. Since I am probably going to have this tree out passed New Year’s Day, I just want that area to look clean and welcoming and I think the way I decorated that space in the fall showed me that I should think about it.

As I continued my search for new decorative pieces for my room, I found a set of ornaments in mini, and as soon as I saw that you could buy a pack of them and still be dirt cheap was the best thing for this low maintenance girl. My silver bulbs are in face mini, and I am always looking for others like them. What I didn’t expect was finding these mini farm animal ornaments. Oh my gosh! They were so cute online, but once they arrived to the house, I wasn’t prepared for how adorable they would be in real life! So, I was only able to find a pack of six in the likeness of a cow, pig, and sheep! What I really love about them is that instead of using hooks, it has a little string attached to their backs and I am forever grateful for that.

I have literally told everyone that have come to the house that all I need now are chickens, roosters, and ducks! However, I started to think about it some more later in the evening and honestly, I need a horse and goats in there too. Maybe I’ll get lucky next year and find others like them!

There was a sincere meaning for me to get these ornaments though. My mom is obsessed with cows. She has a section on her way to work and back home that have a fairly medium sized amount of black cows; and she has this thing that if there are any cows in a pond or even a good size puddle, it means her day will be good! And before anybody asks, she makes us very worried whenever she is driving and trying to find her cows at the same time! Now my nana is a lover of pigs. She told me once that she use to have a piglet as a pet when she lived in Arizona on a farm. I can’t remember the actual name of it, but ever since I keep sending her pictures of pigs on Facebook. Thankfully, she’s like her daughter and adores animals just as much. As far as I know, nobody in my family loves sheep but this was the animal that came in the pack.

The final additions to that corner are my finished “bird” project. I have been working on this statue of a cardinal for years! At one time, it belonged to my nana and papaw, but once the house had to go on sale, we got the second one. A few years ago, my dad sprayed the whole thing with gray paint and I just wanted to restore it to its former glory and repaint it in red with orange legs and make the stand into a moss-y look. I recently just finished the whole thing and I’m pretty proud of myself to finally have it look like a cardinal again. The next one is a beloved dancing Santa Claus that my papaw loved to play for all of us. He had a wide range of singing and dancing kid toys and for a couple of years in a row, he would end up receiving a different one for Christmas. Unfortunately, the one I have closest to my TV, doesn’t have batteries in it and I’m taking that as a positive because then we might lose it to Nolan too.

So, that is it with my Christmas tree décor. I hope you have enjoyed hearing of this holiday tale. Now you get to see what everything looks like as I took quite a bit of pictures afterwards.

What do you think of my Christmas tree this year? Are you the type of person to plaster every ornament you have on your tree or do you like a little clean looking with the minimalist outlook?

snowflake

Blogmas | Christmas Tree Projects

Hello!

This season I was inspired to do something a little bit different.

In September, when I was able to decorate my bedroom for autumn, I went on YouTube to find tutorials on how to make my moon phase garland together easier on my mom and I. As you now know, this still didn’t really help, all it really did was my parents wish we had done it all homemade like in the video. Anyways, as I continued to look for other helpful ways, I came across four DIYers that just seemed fun and genuine with their personalities. I watched all of them for basically a least a week and afterwards, I became inspired to do a little project myself.

I’m still shocked that I came up with this so quickly, because usually it happens within two days (or nights) to finally figure out how I want everything, but not for this one. I instantly knew what I wanted to do but asking for it proved to me a little scary, because I haven’t done anything as grand as this since I was a senior in high school! I still don’t think what I did was at the same scale considering the fact back then, I made six similar portraits on larger canvases within a week apart from each other. For these projects, there were only three items on slightly smaller surfaces, but the biggest difference is that instead of drawing with pencil, pen, and pastels. I only used pencil to start and eventually acrylic paint.

I am not a painter. I’ve never thought of myself as a painter but since the videos I was watching online were in that media, and that’s how my vision was coming to me, I thought I would take a crack at it.

There was something that my mom told me on the second day that stayed with me throughout the process and made me feel at ease once I started on it again. I wanted to share it here in case anyone reading this is like me, and needs some type of encouragement.

You’re not Picasso, and we don’t expect you to be.

If you want to copy what I did or make something similar, here are the materials you will need:

  • Canvas – ours are 12×6
  • Acrylic paint – we purchased the prime colors: red, blue & yellow
  • Assortment of paintbrushes – I used both thin brushes, one a little bigger than the other
  • Paper plates or handy palette
  • Ruler
  • Water

When I officially started on them, I forgot that I never told my dad about what everything was for, and after I asked where the ruler was, he showed me how to actually use one. Honestly, I’m thankful he did it because I’ve never really used them, I usually just estimate and go from there. And after he showed me where the middle was on the first canvas, you could still see my remints on the first time I made my lines and I was off by a couple of inches! My dad was pretty impressed by it and so was I!

So, we measured the border first, and with all of my patience, I did miss the mark a couple of times, but in order to make it more about fun, I had to tell my ego to shut up to make myself keep going, especially when I got to doing the measurements for the big item that all three will have and that was a large triangle or Christmas tree in the center of the canvas. Once I figured out everybody’s shapes, I took pictures for both proof and to show you the process as I continued on this artistic journey.

The next day, I went back to it and was utterly excited to get my toes dirty!

Despite knowing I’m not a painter, I still freaking love it! It’s like glitter but more liquid-y…

Anyways, I thought the best decision would be painting all three trees first and then move on. My mom poured out my blue and yellow onto my plate and I started mixing it with the end of the brush I was going to use first and I wasn’t necessarily happy with the color that appeared first, it was more blue-green and as pretty as it was, it obviously wasn’t the shade I was going for, so I grabbed the yellow again and undid the cap and put the container on its side and squeezed with all of the strength in my feet to get a small amount of paint. Once I got what I wanted, I mixed it all again and I ended up with a very green color and it still had a little blue but it wasn’t as noticeable as the first color, so that was good for me!

I got to painting the sides of the first, I used my homemade desk that my dad made for me back in October. However, everytime I went to turn it around I would end up with more paint on my toes than I liked because that meant, it wasn’t sticking and I would have to go back over it with a second coat. Well, as I let that one dry, I looked around my room to see if I had anything to help fix this problem. So, I have another, older foam box that I have used in previous DIYs and I really needed an easel and my thought was I could prop each one up so I could see everything and allow it to dry a little bit before turning it over. The only issue was, I didn’t have anything to put underneath the canvases to make sure I don’t make a bigger mess than I was, and I grabbed my sunflower rug and flipped it upside down so that I wasn’t ruining the pretty side and this turned out to the second best idea I had that day.

Once I got everybody arranged, I was moving pretty quickly but I have found my absolute weakness with painting: borders. It wasn’t the paint this time; since I made “proper” measurements with a pencil, staying within that area was a bit difficult, but I refused to let it get to me in the end. After all of the borders were a royal blue, I got to work on giving each tree a decoration of some sort with using ideas I found on both YouTube and Instagram.

The main objective to these projects was to make them as different as possible. So, the first one looked absolutely gorgeous! There were no mistakes at all, but the other two: well, the second has one side bigger than the other and the third actually looks like a tree with branches as I was running out of green paint and it turned out better than I expected it to be. This one is actually my mom’s favorite, so go figure! I left everybody to dry for the day before I moved on to the decorations!

For the most part, I used the pencil to create the star on the first project in the way I know how and even though the yellow we had was light, after splashing two coats in that small space, it covered up the guide. I pushed it to the side to dry before doing the trucks, and I did the next with ornaments. Now in my original idea, I was only going to put three in different sizes but once I grabbed the pencil, I knew that wasn’t going to happen. The first trick I found was using the back of a pencil (I got really creative and used the back of my red colored pencil!) or small lid and just coat the flat surface in whatever paint you’re using and pressing it like a stamp on your designated area. Well, if you know me, once I get going, there’s really no stopping me. I meant to do the tree but was having so much with this trick that I kept going all around the tree. Technically, everytime I look at it, it makes me think of an apple tree because of how many dots I laid on the tree.

For the second, I had my mom grab two Q-Tips from the bathroom and I took both in between my toes and held on tightly to both and just did the same motion with the pencil, expect for having individual dots, I took the gold color paint and dotted in a line from one side to the other to the paint where it looks like you wrapped tinsel all around the tree. After I was done, I told my mom that it was my favorite because it looked like what I was initially wanted and I think the lopsided part helped a lot because it meant I could make the tinsel look long and thicker like regular garland.

The final addition that was put on all three projects was some sort of truck; in my head, I just wanted something minimalist and for the most part I stuck to that idea and two of them ended up with a L shape at the bottom of each decorated tree. I used the last bit of brown that we had for it too. As for the third, I was going to put two little vertical lines showing you the outline of a trunk but never connecting the two, but I didn’t like what I had painted on the canvas so I just gave it a full trunk and leave it to me, to place it on the tree that has an odd shape already, so the trunk isn’t necessarily in the middle as the other two but by the time we figured it out, the paint had dried up and I just waved it off.

After they were all dried, I told my mom where I wanted to hang them. There is a mini hallway in between the spare bathroom, my room and Nolan’s playroom. There is a medium sized of wall space that has always looked dull and I thought these would be perfect to hang them and make the house a little more Christmassy! My parents are not the type to decorate every space in the house like I would, especially being that this house is still “brand new” to us and I feel like it needs that sort of vibe going on. So, my mom hung all three in the order I had already picked out and since they are all unique, I thought my last wish for them are three have the same meaning but it is translated in three different languages: the top is the star and this one is called, “Merry Christmas”. the middle is the gold tinsel and full trunk and it’s name is, “Feliz Navidad” for Spanish and the third with the pretty red ornaments is German’s way “Fröhliche Weihnachten”.

Overall, the projects were a success and I am very proud of myself for not only being strong throughout the whole process, but for being committed to doing something different and definitely out of my comfortable zone. Here are the rest of the photos I took of the whole thing.

When was the last time you did something that was out of your comfort zone, but that was bigger than you would normally do? If you create your own Christmas décor, what is your absolute favorite you have made for 2020?

snowflake