

Howdy!
The first couple of weeks of March were pretty interesting! My nana and I decided to get a head start on our DIY projects! We hardly ever do anything for Easter, which I’ve always thought was interesting because people normally do the eggs, but why is that the only thing they do for Easter?
Technically, she didn’t say anything about doing any big Easter crafts! The only thing she wanted to do was a holiday tree, which I’ll explain in another post soon! We worked on this project throughout the beginning of March. We have NEVER done a wreath before! This wreath was our trail and error. My nana wants one for herself and we’re waiting to do this one with my Aunt Laurie maybe! So this is actually for my mom at her workplace! Thankfully she didn’t mind if the whole thing looked rustic!

What you will need for this:
- Sheet of Cardboard
- Ruler
- Cake Tin
- Xacto Knife or Scissors
- Plastic Eggs
- Fake Grass
- Glue
Like I said above, this was our trail and error wreath, so I’m going to tell you a better way of doing it than how we did it. We realized a couple of times halfway that we should have done a certain part first. I am also including the original link I found on Pinterest of the craft, in case you wanted a better source!
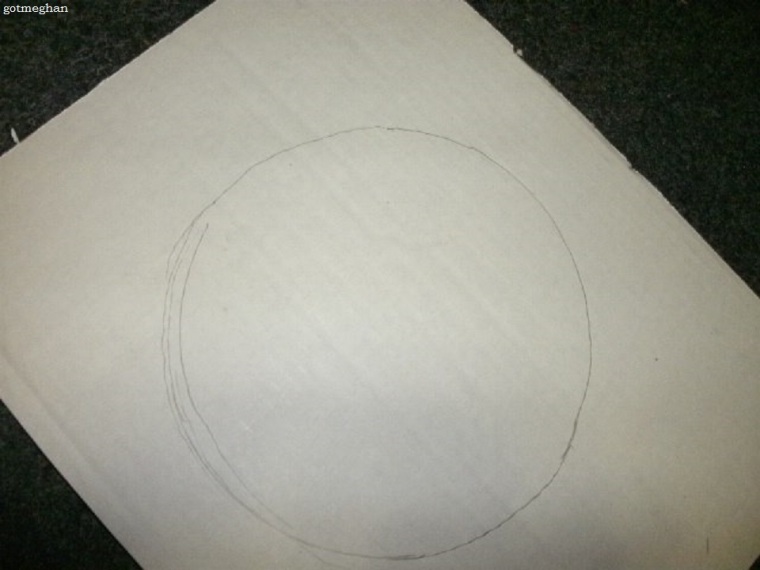
Okay, so the first thing we did was take a 9″ cake tin on top of a fairly medium sheet of cardboard that my nana surprisingly still had after all these months! I used the cake tin as a guide and it’s better to get the middle one traced and cut as well! This was one of our first mistakes! Mostly because we were rushing and decided to get the first row of eggs on the actual circle before I had to leave for the day! Anyways, what we used was a 6″ snow globe (I’m a resourceful person – use what you got!) to trace around and then nana cut out the middle hole with a xacto knife! The first one she just used scissors!


As you will see in the next batch of pictures, we did have to move our circle further into the middle after we glued the first row of eggs to the edge, but in general it was already like that even without having the eggs on there!
On the original directions, the person uses a hot glue gun, well we decided to go with regular glue which was a semi bad and good idea, only because we’ve had to reglue like five or six eggs and luckily it’s mostly the same eggs that have been loose on us! This is where we tried to do what the original link tells you do next and place the eggs close to the edge because you need room to put the second batch of eggs! However, since the cake tins weren’t that big we couldn’t glue the eggs how they were supposed to, so nana thought we put them on their sides like they’re forming a train! And that’s how we figured out that problem!


We actually did all of this in three days, so they had multiple days to dry and were left alone unless a couple were loose and then nana put extra glue underneath them!
When we finally got to adding the fake grass throughout the empty spaces. I was really worried we weren’t going to be able to put much on or shall I say, I didn’t think I’d be able to put my big freaking toes in some of these teeny areas! Somehow I was wrong again but I did have nana do most because towards the end as I was getting more and more frustrated! Fake grass likes to stick to you when you’re sitting directly underneath a vent! Anyways, we finally found a way to stuff a small ball of it into the crevices and use a pen or colored pencil to shove it into the areas it all worked out pretty good after that!
Once we got as much “green” grass we could get on it, my mom put in a request to add more into the areas I couldn’t get into. So we had some yellow grass here and there to make her happy! Next time we’re going to actually glue on the glass first before even do the eggs to see if that is better! We never got to doing the back, so she would be able to hang it up somewhere. She says it is now on top of her work’s activity center’s door!
After a couple of days, my mom actually had a co-worker asking if we could make her one for her door as “it was bare” so essentially my nana and I got our very first order! We are still getting the last of the details done with it, but yeah! It seemed like a cool way to end out this post!


The next DIY project we’re doing is actually for me! There are some similarities between the two, but you’ll have to wait to find out! If you’re following my blog’s Facebook page I will share sneak peeks so keep an eye out there too!
Hope you all have enjoyed this post!
Are you doing any Easter crafts this year?


Facebook | Twitter | Pinterest | Bloglovin


This is very cute! I love the pastel colours of the eggs you picked and adding on the fake grass was a good idea, it made it look like a pastel Easter egg nest, and I’m not surprised your neighbour wanted one done too, they look amazing! I can’t wait to see what your next DIY is too. – Tasha
LikeLiked by 1 person
Thank you!! This second one has been going a LOT faster thank god! It’s also so easy now that my nana’s done most of it! 🙂
LikeLiked by 1 person
More than welcome, ah cool, can’t wait to see it!
LikeLiked by 1 person