
Howdy!
I think the main reason why I look forward to October so much is because it awakens my creative side for a while! It’s about the only holiday that allows me to be that way. People are usually doing the same thing, whether it’s decorating the outside of their house or dressing up for Halloween parties! For my nana and I, we don’t have that luxury, so we have to find ways to let ourselves out of our cages. We love to do little crafts with each other! And Halloween is our biggest and funnest season of the year!
A certain project we always do is pumpkin related. I’ve been working with pumpkins since 2012 and I love doing silly things with them, but this year I was inspired by a couple of things I had seen on my Pinterest feed. Unfortunately, none of them were about pumpkins per se, but I thought they would something easy and fun for the two of us to do instead!
I found a pin for a candy corn banner, and when I saw this I was very excited because I can’t have any fairy lights in my room but I thought a banner would be cute somewhere in my room. And when I showed it to my nana, she seemed to like the idea too!

What you will need for this:
- Paper plates
- Orange and yellow paint
- Paintbrushes
- Yarn
- Masking tape
- Scissors
My nana loves paper plates, I think people in generally love using paper plates more than regular dishes because you don’t have to wash them, you can just throw it into the trash once you’re finished with it!
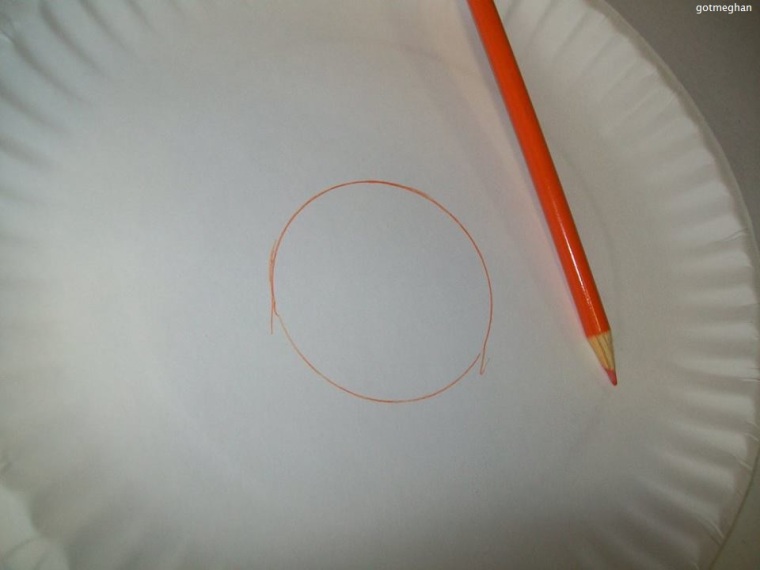
We only used two of them for this project. One of the things that we did was different from the normal directions was the fact we needed an outline of the candy corn on the actual plate so she came up with this ingenious plan of using a plastic cup to be a model for the middle and traced it where the white section of the candy would be, but to make thing easier on us, I also made lines around the upper half of the plate to tell us to stop painting orange at this stage.

After completing this, we moved onto the actual painting and I use to hate, H-A-T-E painting! Now I find it sort of soothing despite the fact I still suck at it! Anyways, I came up with the idea of switching colors and paint brushes whenever the other person was finished so we weren’t both wanting the same color. We used “number paints” those paints that come with coloring books that has numbers of the colors you painted? We have three rows of different colors and don’t worry, you will see those soon! The easiest area to fill in was the yellow! The orange was good, but if I want to continue to paint little things, I’m going to have to buy new paints!


Next I think we took a 10-15 minute break in between to let do them dry. And once they were good to go, my nana got out her scissors and began to cut them in half horizontal and once they were four halves she cut them again this time vertically and then started cutting them into little pizza slices until you end up with eight candy corn pieces!
At this stage, you can start by flipping them upside down and place a section of the yarn on the back of the candy corn and use strains of masking tape to make them stick together. We tried the Scotch tape that was doubled sided but it wasn’t really working for us so we switched to the masking tape and it ended up being a better choice! We didn’t measure out how far we wanted to place the shapes either, I tried to estimate the space as much as I could whenever I placed a new triangle but we liked the freeform of it.

And there you have it! A finished candy corn banner! She initially wanted it around the back of her door knob, but I talked her into tying the ends across two of her lower cabinets in her kitchen. One of them she doesn’t necessarily use all the time so it wouldn’t cause her any friction later. I actually think it looks really cute there too! Mine is underneath my Five Finger Death Punch poster as I have an open area there and I felt it would be better there!

So what do you think of our little creation? When do you get the most creative? What are your favorite crafts or projects to do?
Facebook | Twitter | Pinterest | Bloglovin


Thanks for sharing your creation. I’m working in the library at the high school and I’m responsible for the bulletin board. This might be something I can use for next year. Thanks for sharing! I’m stopping over from Susie’s Blog. 🙂
LikeLike
Oh cool!! Thank you! I have two others if you want some more ideas. My nana and I do a big project with pumpkins and then we made Halloweenie characters with rows of popsicle sticks! I don’t know if any of the high schoolers will like them but you never know! 🙂
LikeLiked by 1 person